products versions - {Ubuntu 22.04, Kubernetes 1.24.00 }
Introduction
This article will guide you through the steps to create a Kubernetes cluster setup with Master + Worker nodes on Oracle Virtual Box.
Pre-requisite
Please make sure to have the below mentioned pre-requisite setup completed before starting with this.
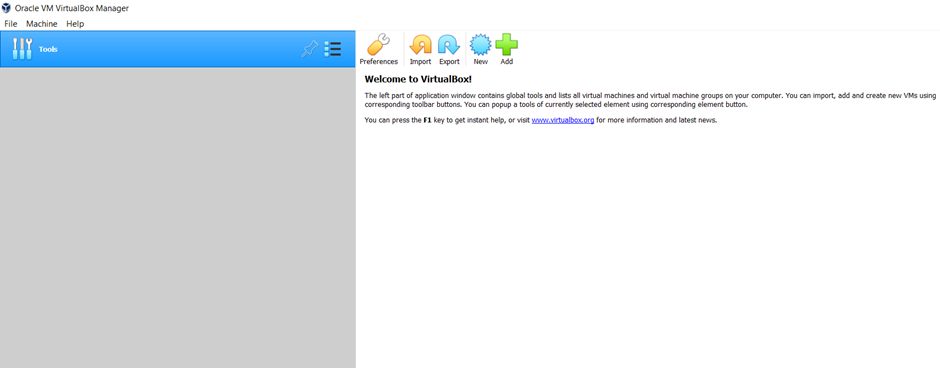
- Install Oracle Virtual Box manager.
- Install Vagrant.
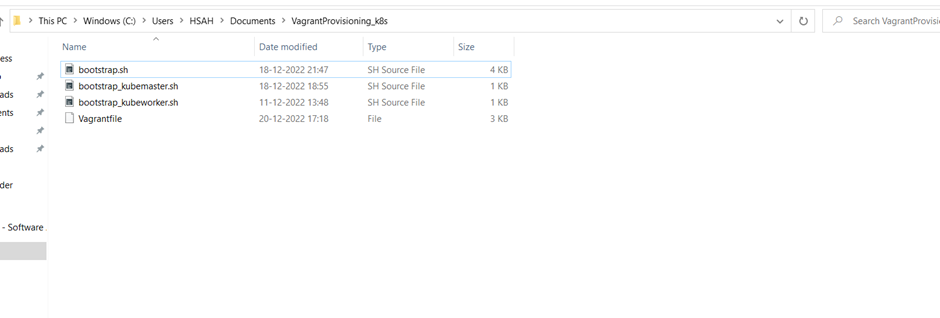
- Copy the attached files, unzip it and place it in some folder in the system.
- Hypervisor should be disabled (because this interferes with Oracle Virtual Box).
Disable Hyper-V to run virtualization software - Windows Client | Microsoft Learn
Configurations
This set-up is fully automated and controlled via configurations from properties file.
Some important configurations which can be altered as per needs are mentioned below.
-
Ubuntu Vagrant Box Version
This can be changed in Vagrant file from below section.
https://app.vagrantup.com/generic/boxes/ubuntu2204 -
CPU & Memory for Kubernetes Master & Worker Nodes (Virtual Box)
This can be changed from below section in Vagrant file.

-
Number of Kubernetes Worker Nodes
This can be changed from below section in Vagrant file.

-
Kubernetes Version
This can be changed from bootstrap.sh file

Steps to follow
Please follow the below instructions for creating a kubernetes cluster with master 7 worker nodes, with containerd runtime.
-
Copy the attached zip file, extract and place it in a folder in system.
-
Start the Oracle Oracle Virtual Box manager as Administrator.
-
Start the command prompt as Administrator, and navigate to path where the files have been placed.
-
Execute the following command: vagrant up
-
Check the Oracle Virtual Box Manager to see if all the boxes have been created and in running mode.
-
Now, we can connect to any of the Master or worker Nodes from ftp clients like Mobaxterm/Putty/Winscp using IPs defined in Vagrant file.
-
We will open Mobaxterm, and connect to kubernetes master node, over 172.15.15.100, as per default setup.
Username: vagrant Password: vagrant
-
Execute the below commands to check kubernetes cluster status.
kubectl cluster-info
kubectl get nodes
-
Next, we will create sample deployments of nginx using below commands.
We can also see which worker nodes this pods are getting created in to.
kubectl create deploy nginx --image nginx
kubectl create deploy nginx2 --image nginx
kubectl get all -o wide


Next steps
-
User ‘root’ credentials for Virtual boxes:
UserName: root
Password: vagrant -
For stopping the kubernetes cluster temporarily, please use the below command from command prompt by navigating to folder where vagrant files are stored:
vagrant halt -
For deleting the cluster below command can be used from command prompt by navigating to folder where vagrant files are stored:
vagrant destroy
vagrant destroy -f (for force deletion)
Useful links | Relevant resources
-
Files required for this setup:
VagrantProvisioning_k8s.zip (3.2 KB) -
Some useful containerd commands are
ctr -h
sudo ctr namespaces list
sudo ctr --namespace k8s.io containers list


- Useful link for understanding different container runtimes:
https://www.tutorialworks.com/difference-docker-containerd-runc-crio-oci/
Docker vs. Containerd: A Quick Comparison (2023)