An article to explain how to promote API assets from one stage to another stage in wM API Gateway.
Prerequisites
- You must have two functioning API Gateway tenants to continue with this article. If you don't, please request for a trial tenant here.
- You must have the knowledge to create APIs on API Gateway. If you don't, please refer to a related demonstration here.
Procedure
On the Sender Tenant
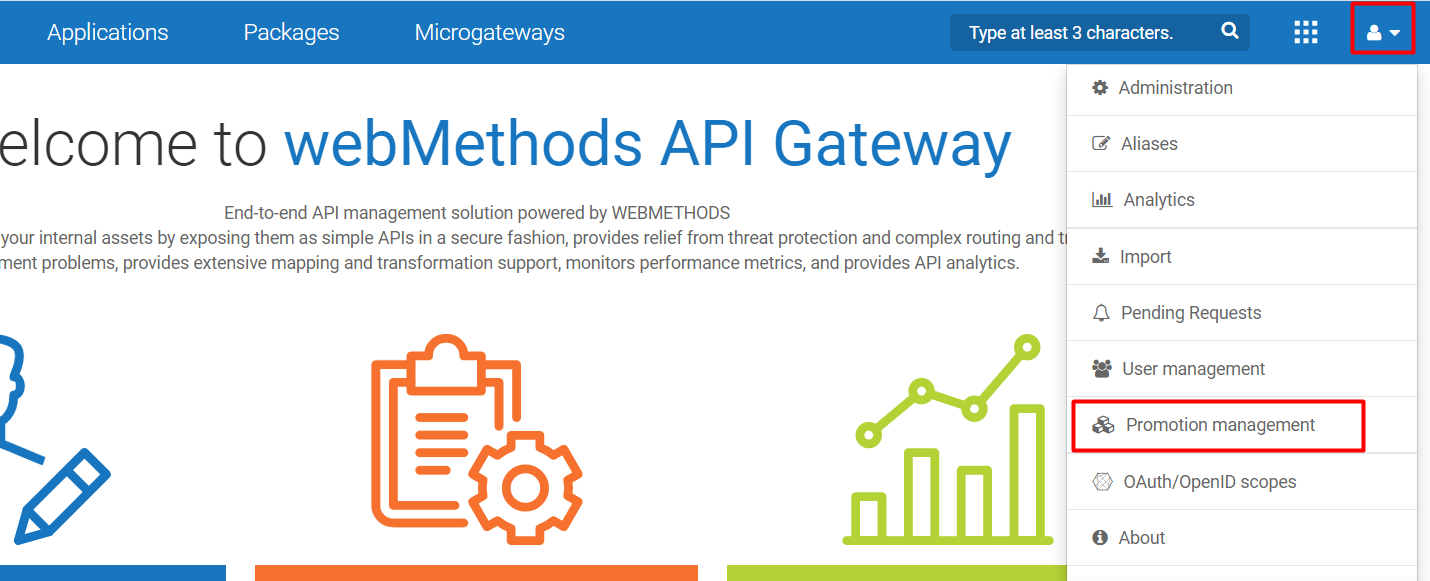
- 'Promotion Management'.
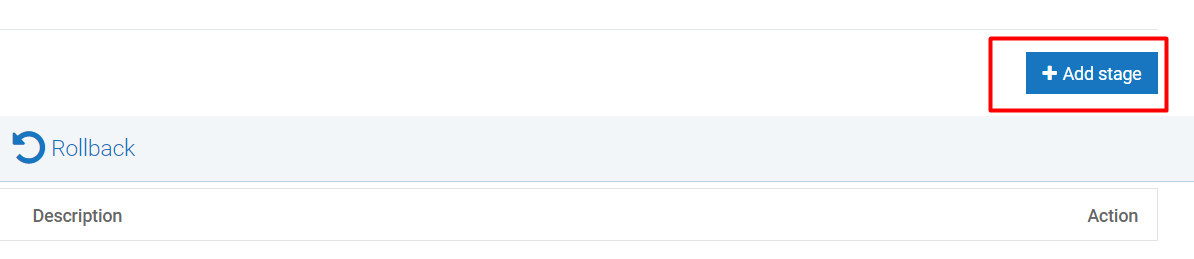
- Click the 'Add Stage' button to create a stage.
- Fill up the required basic information for your stage, which includes the stage name and a description.

- Fill up the required technical information for your stage as shown.
- Stage URL : the API GW tenant URL where you want to promote your API assets to
- Username & Password : credentials associated with said tenant
- Keystore alias & Key alias : select the default options

- Save your changes and navigate to 'Promotions'.

- Click on 'Promote' to create a new promotion.

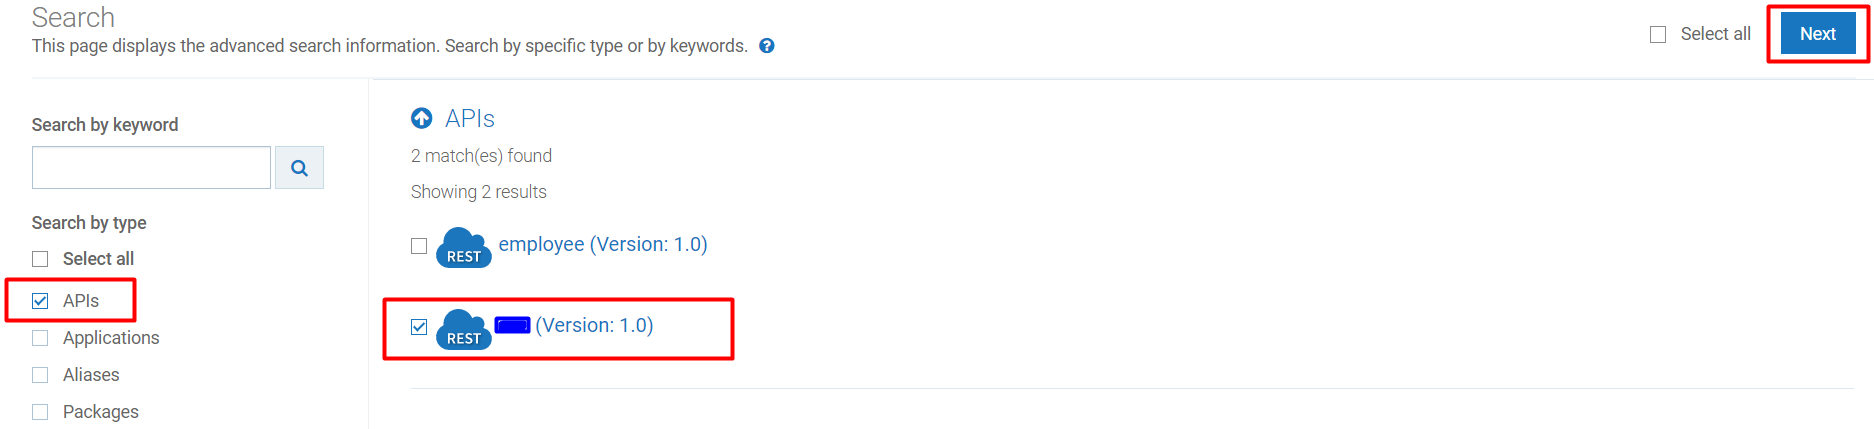
- Select the assets you want to promote. Here, we are selecting an existing API. Then hit 'Next'.
- [OPTIONAL] You can also chose to add your dependencies, if any, as part of your assets. Then hit 'Next'.

- Select the stage created above to promote your assets. Then hit 'Next'.

- Fill in the name and description of your assets that will be reflected in your target tenant. Click 'Promote' to promote your assets.

- Once promotion completes, you will see a stage specific promotion status.

On the Receiver Tenant
- 'Promotion Management -> Roleback' to check the assets that have been promoted to your tenant.

- You can find your promoted assets (in this example, you can find the promoted API under 'APIs' tab) in its appropriate tab.
